Connect Wallet to ChatGPT
via Model Context Protocol (MCP)
This guide walks you through connecting your Wallet account to ChatGPT using MCP with OAuth — you sign in with your Wallet email, no tokens to copy. Follow the steps below in order.
Before you begin
- A ChatGPT Plus, Pro, Business, or Enterprise plan is required for MCP support.
- Wallet MCP is in review by OpenAI and not yet listed in the official directory, so you’ll turn on Developer Mode and add it manually.
Open ChatGPT Apps Settings
Go to ChatGPT Settings and navigate to the Apps section. You can go there directly via chatgpt.com/#settings/Connectors.
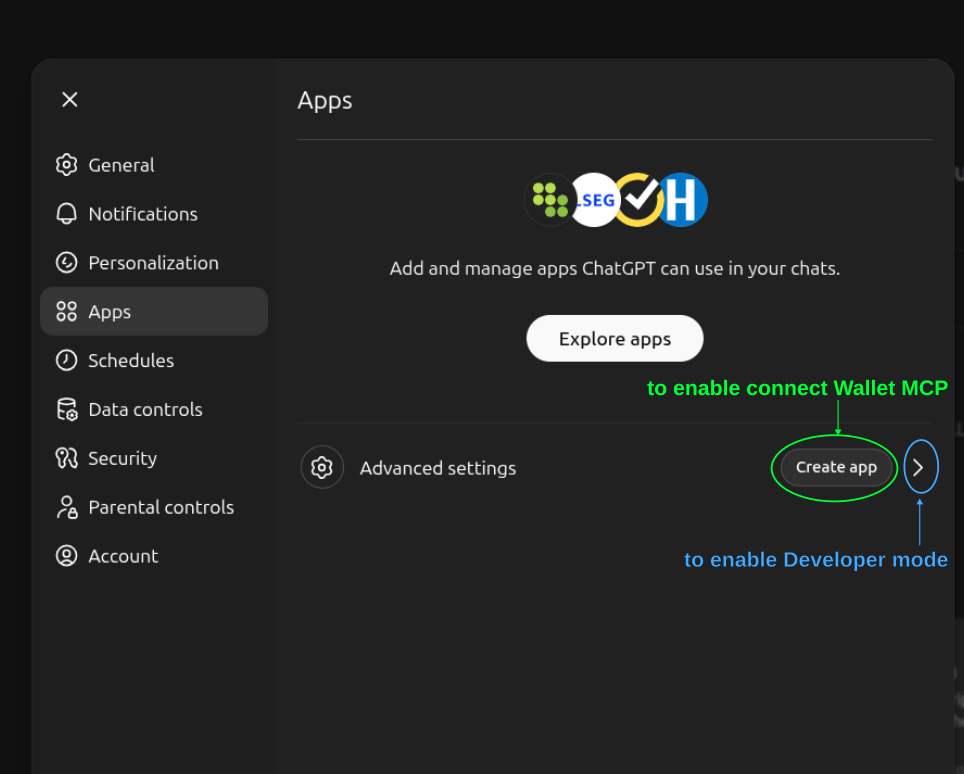
Enable Developer Mode
Click "Advanced settings" and toggle on Developer mode. This is required because Wallet MCP is currently in review by OpenAI and not yet listed in the official directory.
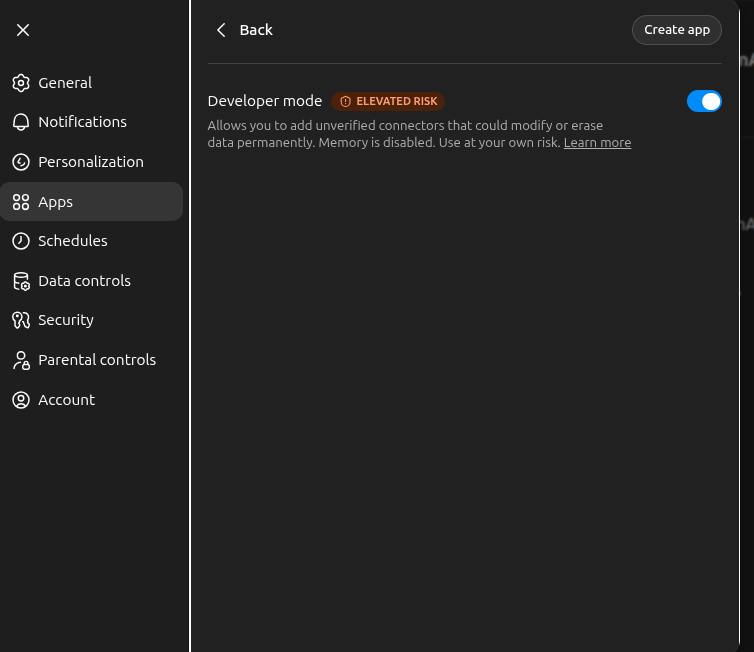
Create a New App
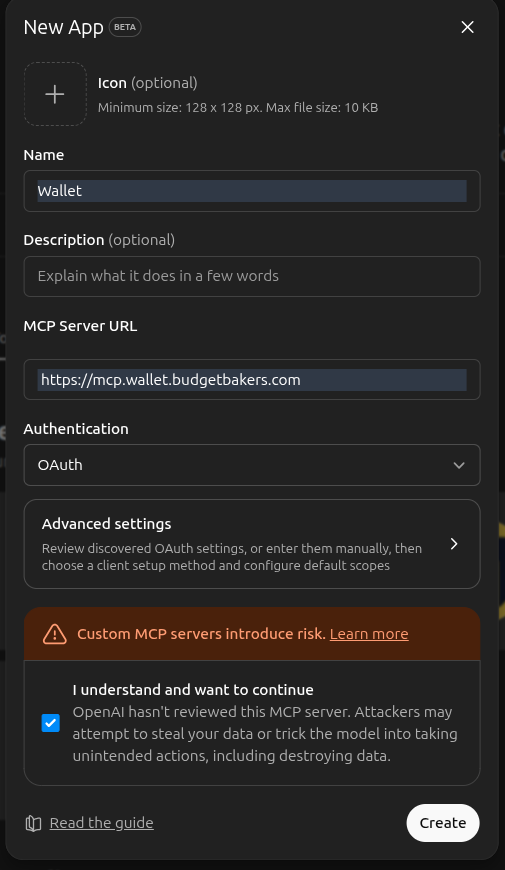
Click "Create app" and fill in the details:
- Name:
Wallet - MCP Server URL:
https://mcp.wallet.budgetbakers.com - Authentication:
OAuth
Confirm the risk acknowledgement to proceed.
Enter Your Wallet Email
You’ll be redirected to the Wallet MCP login page. Enter the email address associated with your Wallet account.
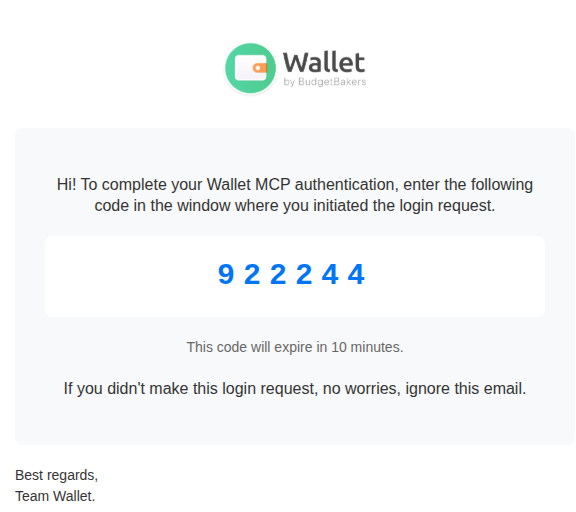
Enter Verification Code
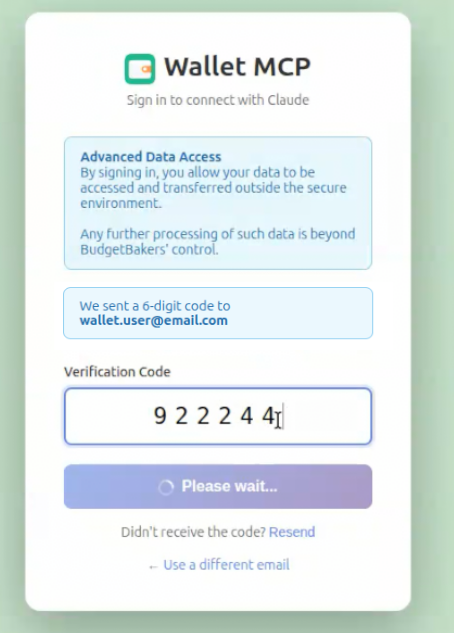
Check your email for a 6-digit verification code from Wallet and enter it on the login page.
Connection Confirmed
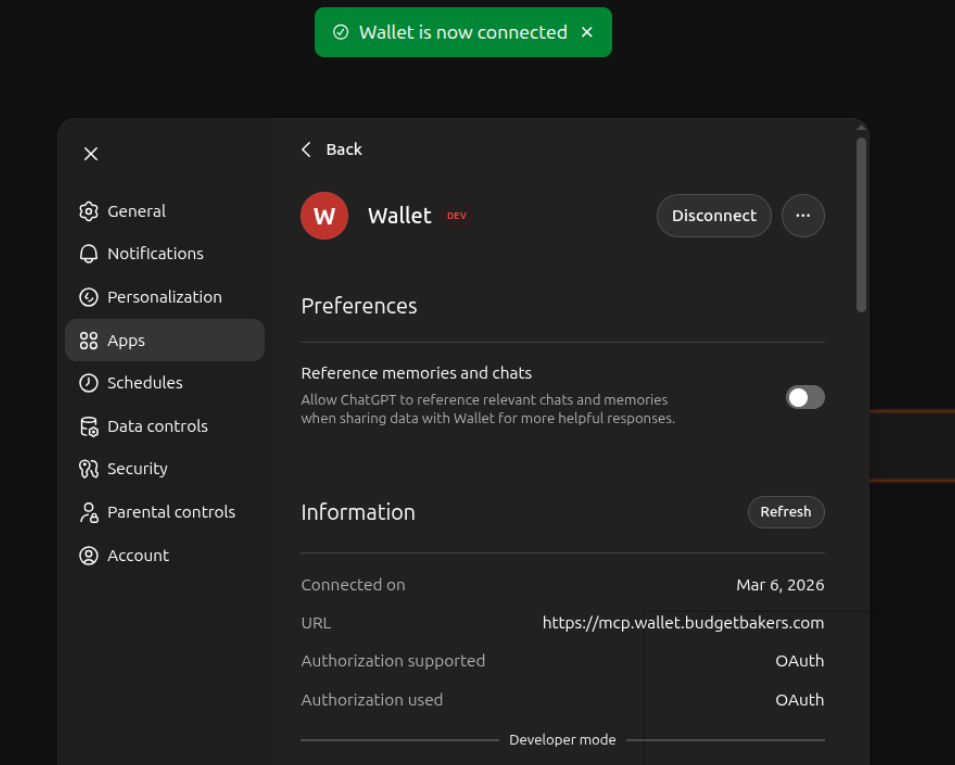
After successful authentication, you’ll be redirected back to ChatGPT. You should see a confirmation that "Wallet is now connected" with connection details.
Start Asking Questions
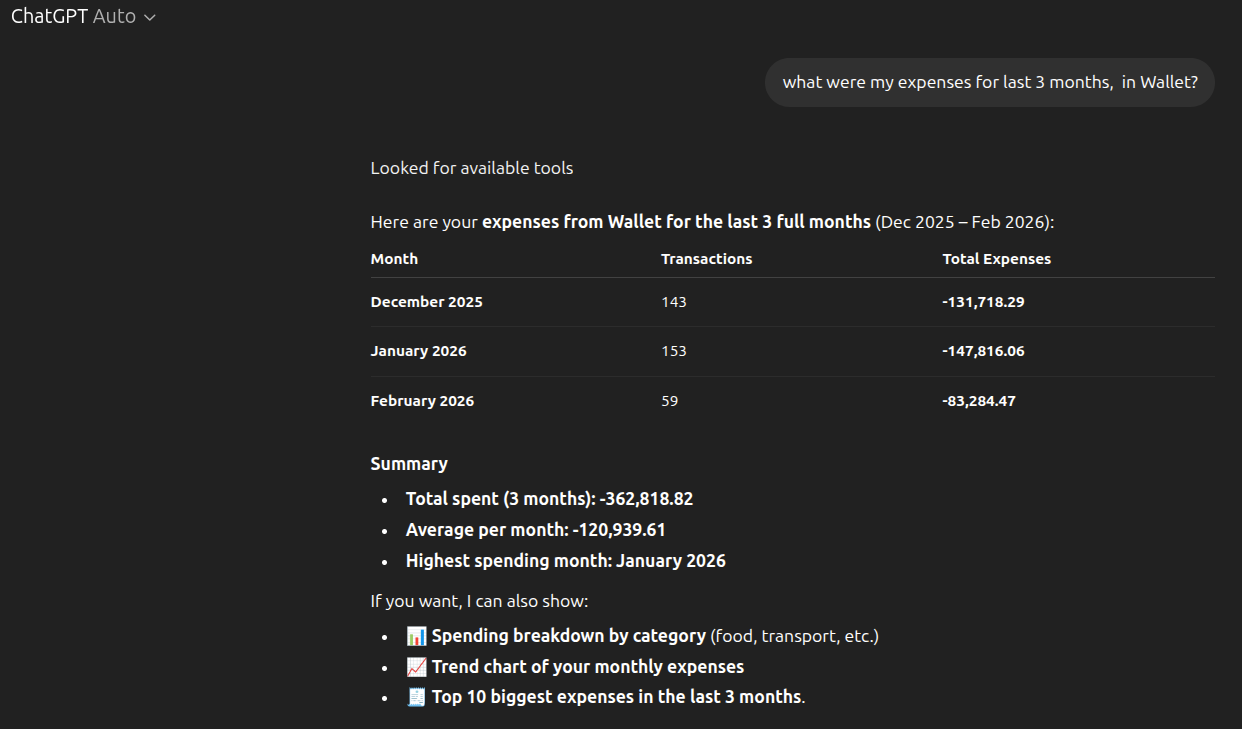
You’re all set! Start a new conversation and ask ChatGPT about your finances. Try questions like:
- “What were my monthly expenses in Wallet?”
- “Show me my spending by category this month”
- “Am I on track with my budgets?”
Explore More Integrations
Wallet MCP also works with Claude Desktop, Claude Code, and other MCP-compatible clients.
View All MCP Setup Guides